Monday, December 1, 2008

Diego's Texas Brisket

My first attempt at brisket was a couple years ago. I had purchased a fairly cheap charcoal bbq unit and had been learning about direct and indirect heat, how to cook salmon on alder planks, how to use a charcoal chimney, and how to manage heat.

The brisket attempt was abysmal: completely black and charred on the outside and bone-dry inside.

I tried it again yesterday.

I bought a 13 lb. brisket; rubbed it with some hot, spicy, mustard; spread a rub over the entire surface; and once the temp was at 185-200 degrees on the smoker, I put the meat on the grille and closed the lid. For three hours. This temp heats the meat above the threshold temp for danger (140) and produces a most impressive smoke ring once the meat is done.

At the three hour mark, I pushed the temp up to about 375 degrees for one half hour where it develops a "crust;" then lowered the temp to about 275. At this time I also put the meat into a foil pan, poured in almost a quart of Coca-Cola*, tented the meat with foil, and let it cook for about 4 more hours. When the meat reached 195-200 degrees, it was declared ready to take off the grille.

Covered with foil for another half hour, it was then cut across the grain and plated. The meat was sliced thin enough for sandwich style preparation on hamburger buns, choice of sauce was left to each individual.

The brisket was excellent, with just a bit of dryness which I am going to research and try to do a little better next time. I think the answer may be to cook it just a bit longer at the top temperature.

* Actually, I used diet-coke because that was all we had; but afterward I was reminded that diet-coke has aspartame in it and at 140+/- degrees it converts to formaldehyde, a carcinogen...ouch...Never again! Bad mistake! I learned the coke tip in a bbq class a couple weeks ago and the teacher then told us not to use diet-coke; but I forgot! shit


Sunday, November 23, 2008

Country Style Ribs

We bought some country style ribs at Costco yesterday to cook today. At first we thought we would just grille them on the gas grille, but then I decided I would rather put them on the smoker.

I started the smoker by putting it on "smoke," and let it run for about 15 minutes before putting on the meat. In a class I took recently by Konrad Haskins at the BBQ Institute, I learned the best way to turn a good cut of pork into ham is to put the rub on the night before and leave it in the refrigerator over night. So, after starting up the smoker, I put the rub on and when the smoker had a good start, I put the meat on the smoker grille.

Konrad promotes the use of a hot, spicy, mustard spread over the pork, followed by a liberal sprinkling of rub. The meat doesn't have a mustardy taste. Konrad says the mustard simply adds to the complex of flavors the meat will have once cooked. It also provides a medium for the rub to stick to; so, I promptly forgot to use the newly purchased bottle of mustard I bought yesterday......

The meat was smoked for about an hour, then I turned the pellet feeder to the notch just below 275. (Konrad's suggestion for Traeger's.) The meat smoked at this setting for about an hour, then it was put into an aluminum pan, coated with apple juice, covered with aluminum foil and left in the smoker for another hour because we had invited our daughter and her family over and it was getting late. I originally thought I would be able to cook this meat in about 3 hours.

The meat was tasty, but it was not tender. Pork is "done" at lower temps than where it needs to be to be "fall of the bone" tender. For that, the internal temp needs to be closer to 180-190 degrees. When I measured the temp, it was running in the low 170's; but as I said earlier, we were running out of time.

Next time, we'll get'er done perfectly!

Monday, November 10, 2008

Diego's "Un-Texas Beef and Beer Chili" (5 stars)

Chili, the American staple from Mexico? At the "History and Legends of Chili, Chili Con Carne" website, it is reported, "If there is any doubt about what the Mexicans think about chili, the Diccionario de Mejicanismos, published in 1959, defines chili con carne as (roughly translated): 'detestable food passing itself off as Mexican, sold in the U.S. from Texas to New York.' " Most reports indicate chili arose somewhere, but flourished in the Southwest, particularly in Texas.

When I was a kid we lived in Texas and we ate a lot of chili; and it all came out of a can. Dinty Moore made the best chili available, back in those days, from the grocery store. It wasn't until we moved to Washington state and my dad began making Texas Chili with mainly ground beef, tomato sauce, or paste, or chopped tomatoes, a few spices, and lot of chili heat!!

He introduced his chili to the family one Christmas Eve and it remained a staple of our annual Christmas Eve celebration for a number of years, even after he was gone. Sometimes his chili was almost unbearably hot with chili powders and hot chilis; and it never had beans in it. Texas chili isn't Texas Chili if it has beans.

I made a pot of Un-Texas chili today, and I think the recipe deserves a place here in "Squeeet." There are almost as many chili recipes as there are people who make chili; but since it all mostly "looks" the same, I chose not to take any pictures with the exception of the cilantro I chopped for garnish.

Here's the recipe:

Ingredients:

1 1/2 C chopped red onion (1 medium)
1 C chopped red bell pepper
8 ounces extra lean ground beef
2 garlic cloves, minced

1 1/2 tbl chili powder
1/2 tsp dry cayenne pepper, minced and crushed
2 tspn ground cumin
1 tspn sugar
1/2 tspn salt
1/2 tspn dried oregano

2 cans (15 oz) beans: pinto, kidney, etc.
1 can (15 oz) diced tomatoes, undrained
1 can (8 oz) tomato paste
1 can (14 oz) low sodium beef broth
1 bottle beer (Bud Light)

1 tbl yellow cornmeal
1 tbl fresh lime juice

Method:

Combine first 4 ingredients in a large Dutch oven over medium-high heat. Cook 5 minutes, or until beef is browned, stirring to crumble. Stir in chili powder, cayenne, cumin, sugar, and salt: cook 1 minute. Add oregano and next 4 ingredients (through the beer) to pan; bring to a boil. Reduce heat and simmer, with lid on but with very small crack to allow steam to escape, for 3 - 4 hours. Stir in cornmeal; cook 5 minutes. Stir in lime juice.

Garnishes: chopped cilantro, fresh guacamole, sour cream.

Yield: 4 servings at 1.5 cups.

Review:

Everyone loved this chili. What really gave it an authentic "Mexican" taste was adding the chopped cilantro (to individual tastes) with the guacamole and sour cream.

Recommeded Modifications:

Next time I am going to try red wine rather than beer; not because the beer wasn't good because it was very good. This recommendation is due to the excellent result with red wine in the Coq Au Vin recipe from last week. Also, the addition of a tbs of either honey or molasses might really knock this recipe up a notch or two.

The red wine didn't give the anticipated results and ended up rather ho-hum.

Friday, November 7, 2008

Coq Au Vin/Chicken with Red Wine (* * * * *)


My fascination with Paris has a tendency to transfer over to the french cuisine. A couple days ago, on an episode of "The Take Home Chef," the meal prepared was "Coq Au Vin." This looked like something I might be able to pull off, so I googled the chef's recipe, then a few others, and settled on one I read about at Simply Recipes.

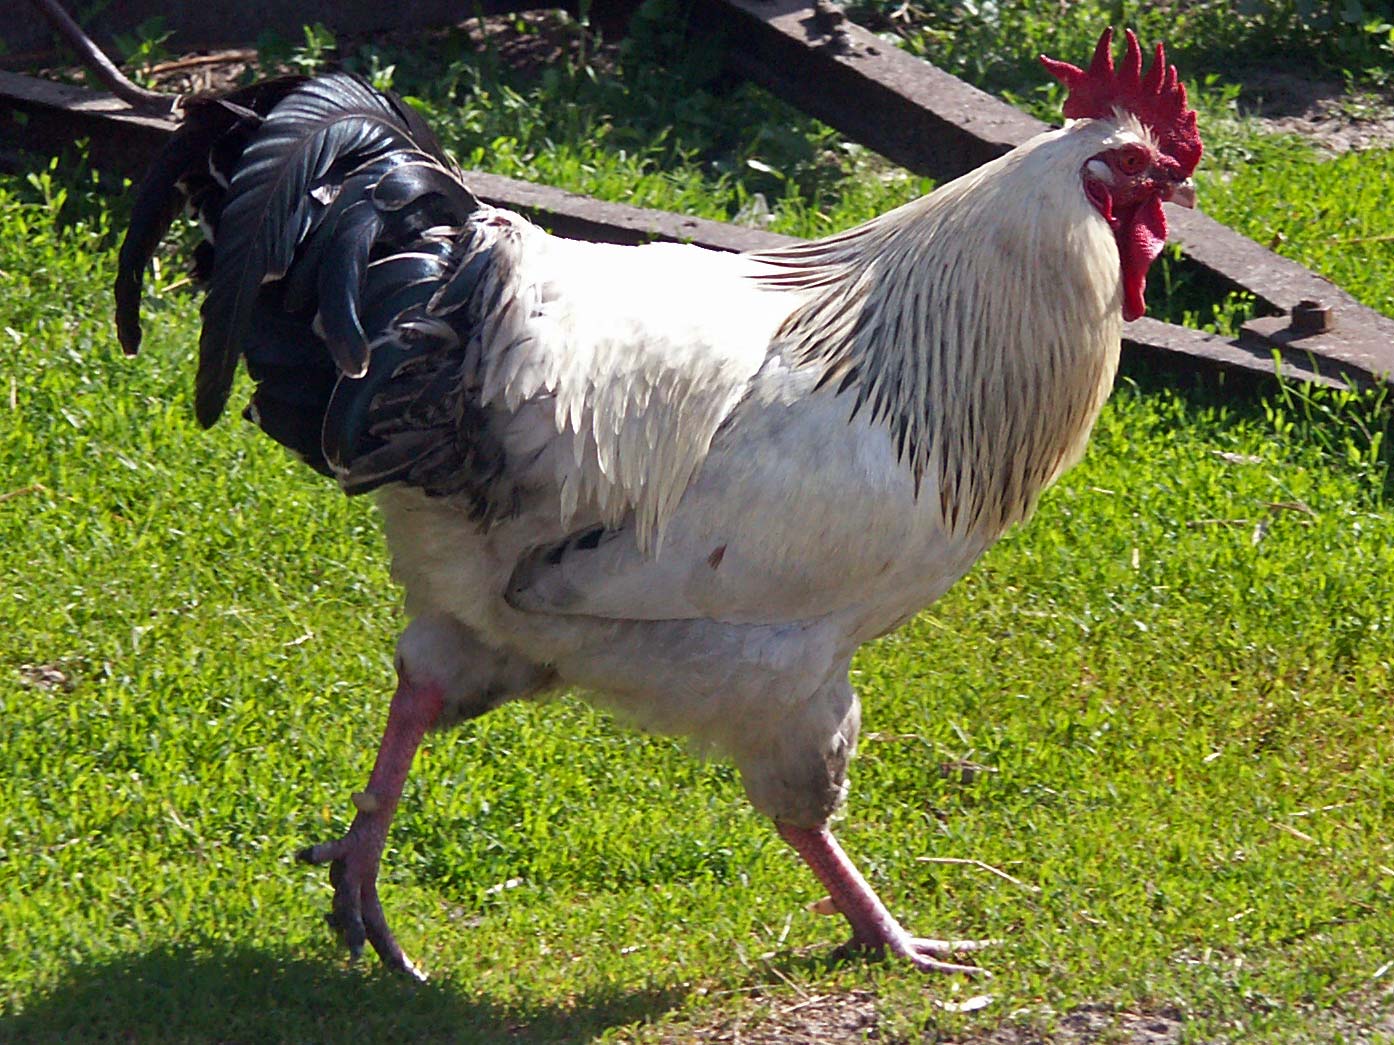
Coq au vin translates to, "rooster with red wine." The concoction was originally developed as a way to prepare the tough and sinewy meat of an old rooster whose prime had come and gone, by cooking him under a rather long and low heat, until the meat is - "fall off the bone" - tender. The acidity of the wine adds to the process; and the sauce that is produced with bacon, mushrooms, and the wine, is sublime.

Since old roosters are difficult to locate in our modern grocery stores these days, and since most of us don't raise chickens anymore, best used are stew hens, if one can be found. The chicken used for this recipe was neither an old, worn-out, rooster, nor a stewing hen, and it all turned out quite well anyway.

Here it is:

Ingredients

1/2 lb bacon slices
20 pearl onions, peeled, or 1 large yellow onion, sliced
1 chicken, 4 lb, cut into serving pieces, or 3 lbs chicken parts, excess fat trimmed, skin ON
6 garlic cloves, peeled
Salt and pepper to taste
2 cups chicken stock2 cups red wine (pinot noir, burgundy, or zinfandel)
2 bay leaves
Several fresh thyme sprigs
Several fresh parsley sprigs
1/2 lb button mushrooms, trimmed and roughly chopped
2 Tbsp butter
Chopped fresh parsley for garnish

Method

1 Blanch the bacon to remove some of its saltiness. Drop the bacon into a saucepan of cold water, covered by a couple of inches. Bring to a boil, simmer for 5 minutes, drain. Rinse in cold water, pat dry with paper towels. Cut the bacon into 1 inch by 1/4 inch pieces.

2 Brown bacon on medium high heat in a dutch oven big enough to hold the chicken, about 10 minutes. Remove the cooked bacon, set aside. Keep the bacon fat in the pan. Add onions and chicken, skin side down. Brown the chicken well, on all sides, about 10 minutes. Halfway through the browning, add the garlic and sprinkle the chicken with salt and pepper. (Note: it is best to add salt while cooking, not just at the very end. It brings out the flavor of the chicken.)

3 Spoon off any excess fat. Add the chicken stock, wine, and herbs. Add back the bacon. Lower heat to a simmer. Cover and cook for 20 minutes, or until chicken is tender and cooked through. Remove chicken and onions to a separate platter. Remove the bay leaves, herb sprigs, garlic, and discard.

4 Add mushrooms to the remaining liquid and turn the heat to high. Boil quickly and reduce the liquid by three fourths until it becomes thick and saucy. Lower the heat, stir in the butter. Return the chicken and onions to the pan to reheat and coat with sauce. Adjust seasoning. Garnish with parsley and serve.

Serves 4. Serve with potatoes or over egg noodles.

RESULTS: The problem we had was time. You have to start in plenty of time ahead to allow the sauce to reduce down. We had another engagement for 6:30 pm and starting preparing the meal at 4:30. There wasn't enough time to fully reduce the sauce. However, it was delicious! We did have to hurry our meal and that wasn't fun; but we learned about making this dish and will make it again.

NEXT TIME: More time, yes. Brown the chicken in the iron skillet and put the entire chicken in the dutch oven. Browned it this time in the dutch oven and there wasn't enough room for all of it to brown well on the limited bottom surface of the pan. Once a whole chicken is browned, it doesn't matter once it is in the oven because that's when the chicken stock, wine, etc. is added.

A recommendation for a side dish, in addition to the mashed potatoes and steamed carrots is mustard greens. With mashed potatoes the sauce can be ladeled across them. Leftover sauce goes well on pasta for lunch the next day.

Sunday, October 5, 2008

Chicken Enchiladas with Red Chili Sauce

A long, long, time ago, in a far away time and place (40 years ago and 3 or 4 miles from here) my father would throw together some of the best Mexican food ever eaten. At least that's the way I felt about his enchiladas. I don't know where he bought his tortillas for we had no Mexican influence here then, but I do know he deep fried them, probably in Crisco oil. I don't know how he made the sauce, but I'm reasonably sure he fried the hamburger in a skillet. We had never had food like this before and it was wonderful. I remember eating seventeen of them once. I was a teenager then and my stomach went down into each leg.

So, thanks to my good friend, Joe's, recommendation for this recipe, found at Cooks Illustrated online, I had to give it a try. My wife and I worked most of the afternoon making the tortillas from "scratch," bbq'ing the chicken; and cooking the sauce, also from "scratch." We agreed that we didn't think this would be as good my dad's enchiladas were; but we were wrong. These babies were scrumtious and we'll definitely have them again.

Friday, October 3, 2008

Our First "Croque Monsier" Sandwich

This recipe emerged from the pages of a fancy little book called, Paris Cafe - The Select Crowd. The book outlines the history of French cafes in general and cafes in Paris specifically; but we'll save the history and character of Le Select for another time.

The recipe for the Croque Monsier is one of three basic meals served in Le Select and having been to Paris a few times, there was no way the recipe could be avoided. We decided rather than making a closed sandwich, to use only one piece of freshley made no-knead bread. It was tasty, but we think maybe we should go ahead with the second, more thinly sliced piece of bread next time.

Ingredients

1 slice Poilane bread (or Almost No Knead Bread)
1 slice cooked ham (we recommend 4-6 slices of Black Forest ham)
1 thins slice Gruyere (Emmenthal) or Swiss Cheese
1 Tbsp grated Gruyere or Swiss Cheese
1 pat butter
Salt and Pepper to taste

Directions for Open Face:

Lightly toast and butter the bread (iron skillet, or griddle); place the ham, then cheese, on top of bread. Cover with grated cheese and heat until the cheese bubbles. Serve immediately with lettuce garnish and a favorite wine.

Options:

A richer version uses 2 thinner slices of bread (crusts removed) with ham and cheese between. Place bechamel (white) sauce and grated cheese on top, and heat.

Thursday, October 2, 2008

Stuffed Peppers

Stuffed peppers have been a staple in our family for three decades. Whether on a cool autumn evening, or a freezing winter one, this meal satisfies the craving for not only something good, but something warm and fulfilling. This recipe serves 2.

Ingredients:

2 green peppers
1/2 lb. hamburger, fried
1 8oz. tomato sauce
1/4 C chopped green pepper (chopped tops)
1/3 C raw rice
1/3 C chopped onions
1 Tbls Worchestershire sauce
1/2 C water
1 Tbls Brown Sugar
Shredded Cheese - enough to cover the tops of the peppers

Instructions:
Mix all ingredients except the peppers,and the cheese, and simmer for 25 mins.
Cut the top off the peppers. Boil the peppers in salted water for 5 mins, then fill them with the mixture, top with cheese and bake for 15 minutes. Serve immediately.

salt to taste

Suggested Side Dishes:

Strawberry Almond Salad
Greenbeans


Home-made No Knead Bread