Friday, November 7, 2008

Coq Au Vin/Chicken with Red Wine (* * * * *)


My fascination with Paris has a tendency to transfer over to the french cuisine. A couple days ago, on an episode of "The Take Home Chef," the meal prepared was "Coq Au Vin." This looked like something I might be able to pull off, so I googled the chef's recipe, then a few others, and settled on one I read about at Simply Recipes.

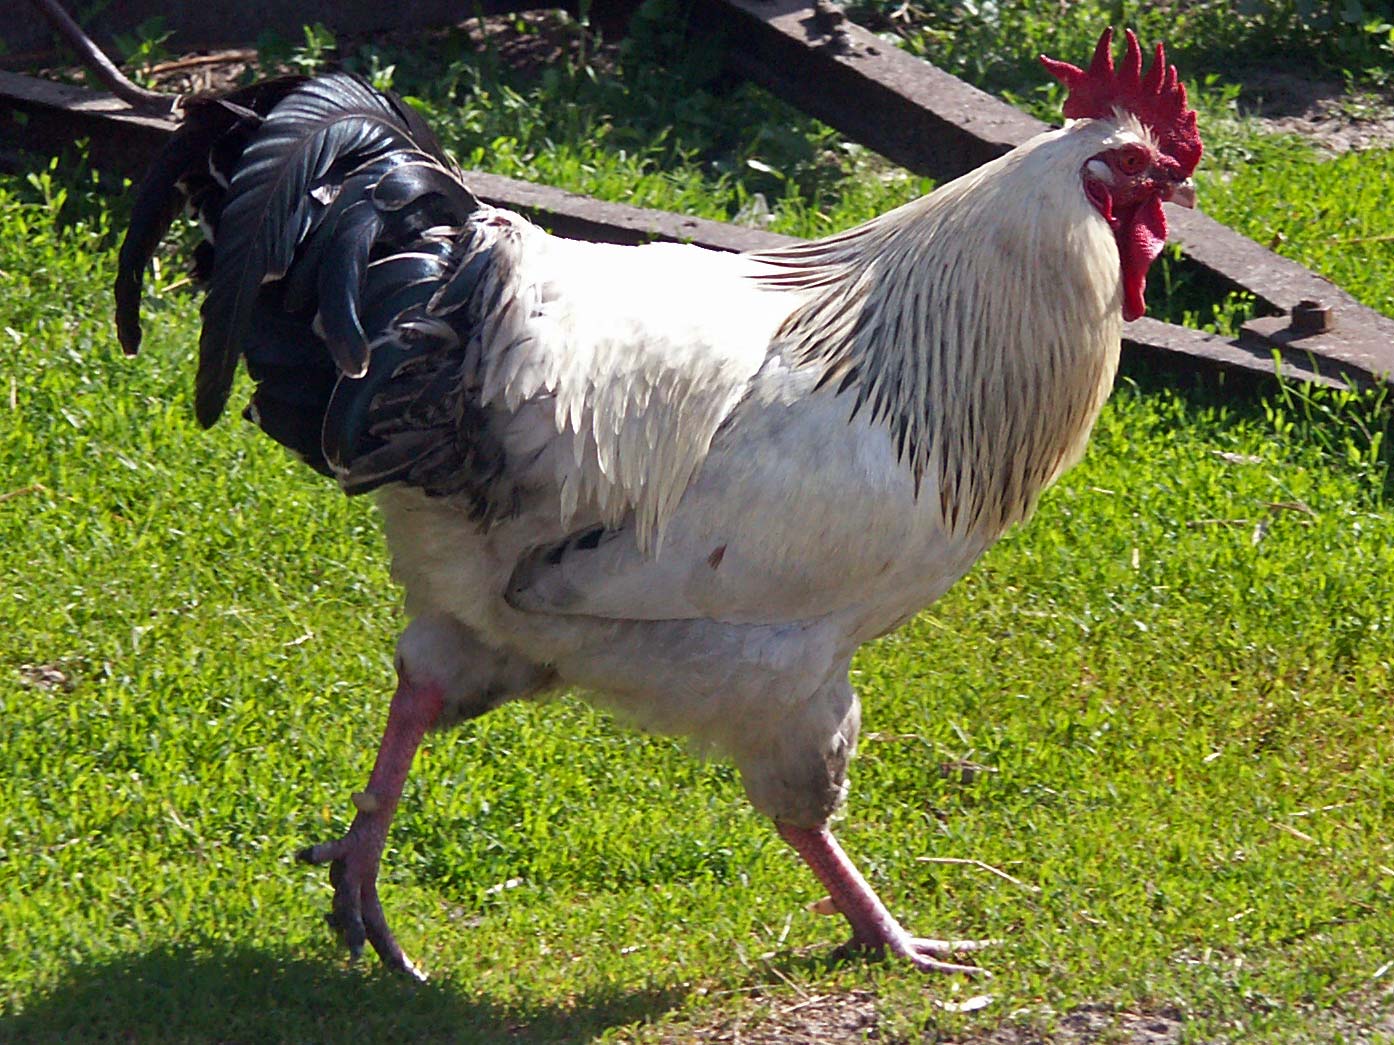
Coq au vin translates to, "rooster with red wine." The concoction was originally developed as a way to prepare the tough and sinewy meat of an old rooster whose prime had come and gone, by cooking him under a rather long and low heat, until the meat is - "fall off the bone" - tender. The acidity of the wine adds to the process; and the sauce that is produced with bacon, mushrooms, and the wine, is sublime.

Since old roosters are difficult to locate in our modern grocery stores these days, and since most of us don't raise chickens anymore, best used are stew hens, if one can be found. The chicken used for this recipe was neither an old, worn-out, rooster, nor a stewing hen, and it all turned out quite well anyway.

Here it is:

Ingredients

1/2 lb bacon slices
20 pearl onions, peeled, or 1 large yellow onion, sliced
1 chicken, 4 lb, cut into serving pieces, or 3 lbs chicken parts, excess fat trimmed, skin ON
6 garlic cloves, peeled
Salt and pepper to taste
2 cups chicken stock2 cups red wine (pinot noir, burgundy, or zinfandel)
2 bay leaves
Several fresh thyme sprigs
Several fresh parsley sprigs
1/2 lb button mushrooms, trimmed and roughly chopped
2 Tbsp butter
Chopped fresh parsley for garnish

Method

1 Blanch the bacon to remove some of its saltiness. Drop the bacon into a saucepan of cold water, covered by a couple of inches. Bring to a boil, simmer for 5 minutes, drain. Rinse in cold water, pat dry with paper towels. Cut the bacon into 1 inch by 1/4 inch pieces.

2 Brown bacon on medium high heat in a dutch oven big enough to hold the chicken, about 10 minutes. Remove the cooked bacon, set aside. Keep the bacon fat in the pan. Add onions and chicken, skin side down. Brown the chicken well, on all sides, about 10 minutes. Halfway through the browning, add the garlic and sprinkle the chicken with salt and pepper. (Note: it is best to add salt while cooking, not just at the very end. It brings out the flavor of the chicken.)

3 Spoon off any excess fat. Add the chicken stock, wine, and herbs. Add back the bacon. Lower heat to a simmer. Cover and cook for 20 minutes, or until chicken is tender and cooked through. Remove chicken and onions to a separate platter. Remove the bay leaves, herb sprigs, garlic, and discard.

4 Add mushrooms to the remaining liquid and turn the heat to high. Boil quickly and reduce the liquid by three fourths until it becomes thick and saucy. Lower the heat, stir in the butter. Return the chicken and onions to the pan to reheat and coat with sauce. Adjust seasoning. Garnish with parsley and serve.

Serves 4. Serve with potatoes or over egg noodles.

RESULTS: The problem we had was time. You have to start in plenty of time ahead to allow the sauce to reduce down. We had another engagement for 6:30 pm and starting preparing the meal at 4:30. There wasn't enough time to fully reduce the sauce. However, it was delicious! We did have to hurry our meal and that wasn't fun; but we learned about making this dish and will make it again.

NEXT TIME: More time, yes. Brown the chicken in the iron skillet and put the entire chicken in the dutch oven. Browned it this time in the dutch oven and there wasn't enough room for all of it to brown well on the limited bottom surface of the pan. Once a whole chicken is browned, it doesn't matter once it is in the oven because that's when the chicken stock, wine, etc. is added.

A recommendation for a side dish, in addition to the mashed potatoes and steamed carrots is mustard greens. With mashed potatoes the sauce can be ladeled across them. Leftover sauce goes well on pasta for lunch the next day.

Sunday, October 5, 2008

Chicken Enchiladas with Red Chili Sauce

A long, long, time ago, in a far away time and place (40 years ago and 3 or 4 miles from here) my father would throw together some of the best Mexican food ever eaten. At least that's the way I felt about his enchiladas. I don't know where he bought his tortillas for we had no Mexican influence here then, but I do know he deep fried them, probably in Crisco oil. I don't know how he made the sauce, but I'm reasonably sure he fried the hamburger in a skillet. We had never had food like this before and it was wonderful. I remember eating seventeen of them once. I was a teenager then and my stomach went down into each leg.

So, thanks to my good friend, Joe's, recommendation for this recipe, found at Cooks Illustrated online, I had to give it a try. My wife and I worked most of the afternoon making the tortillas from "scratch," bbq'ing the chicken; and cooking the sauce, also from "scratch." We agreed that we didn't think this would be as good my dad's enchiladas were; but we were wrong. These babies were scrumtious and we'll definitely have them again.

Friday, October 3, 2008

Our First "Croque Monsier" Sandwich

This recipe emerged from the pages of a fancy little book called, Paris Cafe - The Select Crowd. The book outlines the history of French cafes in general and cafes in Paris specifically; but we'll save the history and character of Le Select for another time.

The recipe for the Croque Monsier is one of three basic meals served in Le Select and having been to Paris a few times, there was no way the recipe could be avoided. We decided rather than making a closed sandwich, to use only one piece of freshley made no-knead bread. It was tasty, but we think maybe we should go ahead with the second, more thinly sliced piece of bread next time.

Ingredients

1 slice Poilane bread (or Almost No Knead Bread)
1 slice cooked ham (we recommend 4-6 slices of Black Forest ham)
1 thins slice Gruyere (Emmenthal) or Swiss Cheese
1 Tbsp grated Gruyere or Swiss Cheese
1 pat butter
Salt and Pepper to taste

Directions for Open Face:

Lightly toast and butter the bread (iron skillet, or griddle); place the ham, then cheese, on top of bread. Cover with grated cheese and heat until the cheese bubbles. Serve immediately with lettuce garnish and a favorite wine.

Options:

A richer version uses 2 thinner slices of bread (crusts removed) with ham and cheese between. Place bechamel (white) sauce and grated cheese on top, and heat.

Thursday, October 2, 2008

Stuffed Peppers

Stuffed peppers have been a staple in our family for three decades. Whether on a cool autumn evening, or a freezing winter one, this meal satisfies the craving for not only something good, but something warm and fulfilling. This recipe serves 2.

Ingredients:

2 green peppers
1/2 lb. hamburger, fried
1 8oz. tomato sauce
1/4 C chopped green pepper (chopped tops)
1/3 C raw rice
1/3 C chopped onions
1 Tbls Worchestershire sauce
1/2 C water
1 Tbls Brown Sugar
Shredded Cheese - enough to cover the tops of the peppers

Instructions:
Mix all ingredients except the peppers,and the cheese, and simmer for 25 mins.
Cut the top off the peppers. Boil the peppers in salted water for 5 mins, then fill them with the mixture, top with cheese and bake for 15 minutes. Serve immediately.

salt to taste

Suggested Side Dishes:

Strawberry Almond Salad
Greenbeans


Home-made No Knead Bread


Thursday, August 7, 2008

Diego's Smoked Cabernet Brisket

Last September we enjoyed some brisket in Branson, MO., that just knocked us out! When we got home I tried twice to smoke some brisket on the charcoal grille we had at the time. If you've ever tried to smoke brisket on a charcoal grille you know exactlly what I mean when I say keeping a constant temperature was a challenge. Six hours of reading the thermometer, opening the lid, dumping more charcoal, adding more wood chips for flavoroing, etc., was a bigger six-hour job than what I wanted.

Day 1:

Now I'm feeling ready to try it again, this time on the new Traeger smoker. I found a recipe at the Walla Walla Village Winery site for a wine inspired smoked brisket, so today I bought a slab of brisket and put together the marinade. I had to modify the recipe some, therefore I gave it a new name, "Diego's Smoked Cabernet Brisket." (I'm a bit partial to the name Diego and like to use when I can, mostly "just in fun.")

The marinade contains the following ingredients: merlot-cabernet wine (Columbia Crest, 2005, merlot-cabernet blend); orange juice, Worcestershire sauce, water, sea salt, fresh ground pepper, crushed garlic cloves, and bay leaves. The meat will be marinated for about 16 hours in the 'fridge.

The BBQ sauce for this masterpiece also calls for merlot-cabernet wine, orange juice, Worcestershire sauce, ketchup, apple cider vinegar, brown sugar, minced ginger, dry mustard powder, red chili flakes, Salt, and Pepper.

More posting tomorrow when we go into full production.

Day 2:

Poured the marinade off the meat this morning, cut slits in the fat side and embedded the garlic, salted and peppered both side. The smoker was turned on a few minutes earlier to set the temperature at 200 to 220 degrees and when ready, placed the meat on the grille and started the timer. This cook should last 7 hours being ready at about 5:30-6:00 pm later today.

We called some friends to join us for brisket, corn on the cob, baked beans and some good red wine later today. Let's hope it all works out.

Here's a closer shot of the meat, fresh off the grille. You can clearly see the slits where the meat was cut about 1/2 inch deep and the garlic inserted.

Our friends, despite being fully informed that we needed them as guinea pigs for this meal, showed up right on time and brought a wonderful bottle of cabernet savignon to go with the brisket; and this beautiful bouquet of flowers...wow.

The wine was superb, smooth, with low acidity and it didn't have that strong oaky taste that so many cabs I've drank have. Of course, I pay bottom dollar for cab, so that may demystify this wonderful bottle they brought.

The brisket was a hit; even though I forgot to add the slices of provolone to the finished product for our guests. We tried the left overs on the next day with the cheese and agreed it didn't really seem to add much to the overall experience of a pretty damned good brisket.

Definitely a repeat recipe!


Tuesday, August 5, 2008

Salsa With True Mexican Flavor

Too many times when we purchase salsa in the grocery store, it tastes mostly like we think it should taste rather than what it really should taste like. I figured this out yesterday after doing some grocery shopping at a very large Mexican grocery called Fiesta Foods across the river. Going there brings back memories of Tijuana.

While casually walking the aisles and discovering the similarities and differences with what we find in our local groceries, I noticed a row of small bottles across the top of a produce bin full of tomatilloes; small bottles filled with what appeared to be some kind of rub. On closer inspection I found they were spices specifically developed for tacos, burritos, and other Mexican fare.

The one that caught my eye read, "Salsa Mix:" two tbs of the mix, 2 cups of chopped tomatoes, some fresh cilantro, and a bit of green pepper for color.

I tossed in some minced green onion, and a minced garlic clove, stirred it all together, laid a cilantro sprig across the top, and put in the fridge to cool for a while.

Later we had taco salad for dinner and placed copious amount of the salsa on top. It was delicious. Cilantro really helps make it Mexican, too!!

Monday, August 4, 2008

Grillin' Some Rib Eyes

We love rib eye steak. Grilled up just right, it tastes wonderful with some creamed spinach, corn on the cob, maybe some fried okra, a crunchy salad with a tasty vinaigrette, and a bottle of some local red wine. Wow.

Steak doesn't need smoking. It can be grilled in a matter of minutes, so here's what I did to "dress it up" a bit. The rub was Traeger's Salmon Rub. I think this stuff might be good on peanut butter sandwiches. I put copious amounts of the rub on both sides of the meat and put in the fridge for a couple of hours, cleaned the grill, spread a little vegetable oil on the grill, turned it on high and closed the lid.

When the grill was "smokin'," I dropped the steak on and let it sizzle on each side for about 3 1/2 minutes. The steak was almost an inch thick, so this gave us the perfect medium-rare steak we love. Oh yeah, about two minutes into the sizzle, I turned the steak 45 degrees to give it that beautiful cross-hatch.

It was simply, to die for!